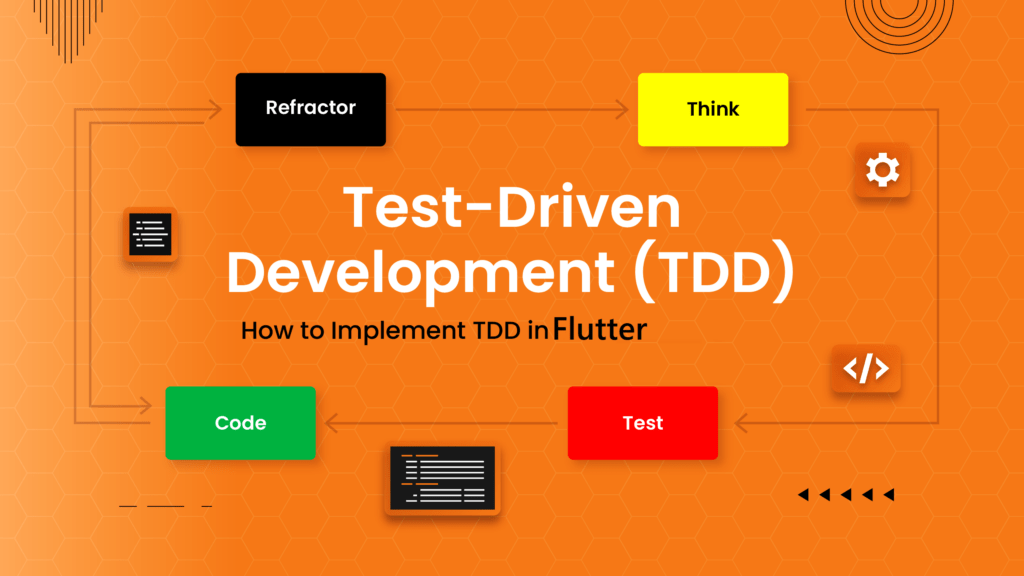
TDD and TDD in Flutter
Introduction: Test-Driven Development (TDD) is a critical practice in software engineering that focuses on improving software quality and reducing errors. This article delves into TDD and its implementation in the context of Flutter development. We’ll explore the stages of TDD, its advantages and how it contributes to creating reliable and robust software solutions. STLS: Testing is the process of discovering as many defects as possible, and one of the processes that can be applied to achieve testing is the STLC, which stands for Software Testing Life Cycle. This process consists of six stages as follows: 1. Requirements Analysis: In this stage, the testing team works on understanding the project requirements. This stage is crucial to avoid any misunderstandings of the requirements, which could lead to invalid tests. 2. Test Planning: In this stage, a test plan is created, and several factors are determined, including: a. Defining the scope of testing, identifying the functionalities and features that should be tested and those that should not be tested. b. Identifying the attributes that the project should achieve and need to be tested, such as functionality, security, usability, etc. c. Documenting all the outputs produced during the testing process, including: 3. Test Case Development: In this stage, the test cases that were defined in the test planning stage are written. 4. Test Environment Setup: The test environment refers to the software and hardware through which the application is tested. In this stage, the necessary elements required for testing are verified and set up. 5. Test Execution: In this stage, the tests are executed, and the results are monitored. If any errors occur, communication with the development team takes place to resolve the issues. 6. Test Cycle Closure: This is the final stage in the testing process, where the results are analyzed and evaluated. TDD: It is an abbreviation for Test Driven Development (TDD), which means writing tests before writing the actual (production) code. Through this approach, we replace between stages of developing a software product. Here, we first write the test code and then write the actual (production) code. TDD Stages: TDD is generally implemented through the following steps: TDD Example: Let’s consider a function whose task is to perform a mathematical operation, specifically addition. In the traditional approach, we would write the addition function first, then define the test cases, and finally apply the test cases to the function and compare the results. In TDD, we would start by writing the test cases for the addition function. For example, when given two numbers, x1 and x2, we expect the result to be x3. Then, we write the code specific to this test case and execute the test. At this point, the result would be a failure (red) because the actual code logic has not been written yet. Next, we move to writing the actual code for the addition function. Once we finish writing it, we execute the test code we previously wrote. Here, we have two possibilities: either the test passes (green), and then we move on to another test case, or it fails. In the case of failure, we modify the actual code and retest it until it passes (becomes green). TDD Rules: TDD Benefits: TDD using Flutter: We can write the test cases we want to achieve before writing the actual code (production code) using the tests provided by Flutter. We know that there are three types of tests in Flutter: Unit Test, Widget Test, and Integration Test. In this article, we will focus on Unit Testing. Unit test in flutter: Unit testing is a type of software testing that is applied to the smallest unit of code, (such as a function – method ..etc). Unit testing goes through three stages: Arrange: In this stage, everything necessary for executing the test is prepared. This involves setting up the required conditions for the test to be executed successfully, initializing any values, variables, or inputs needed for the test. Act: The unit being tested is executed based on the prepared conditions from the previous stage. The result of executing the unit is stored in a specified variable for later use in the third stage. Assert: In this stage, the result of executing the unit is verified and compared to the expected result that was prepared in the first stage. This stage involves using assert functions to check the correctness of the result and to verify the occurrence of expected events, such as calling a specific function and ensuring that the tested unit behaves as expected. Example: There is a class that contains a function called “increment.” The goal is for this function to increase the value of “value” by one each time it is called. We will follow TDD (Test-Driven Development) in the development process. We will create two files: the first one is “counter.dart,” and the second one is the test file, “counter_test.dart The “counter” class will contain the function that we want to apply TDD to. It’s important to note that we should not write any logic inside this function before writing its corresponding unit test. As in the following figure: We are writing the increment unit test The result will be failure (RED) because we haven’t written the logic for the increment yet. Now we go to the actual (production) code and write the increment logic. After writing the logic for the “increment” function, we need to rerun the unit test to ensure that the function behaves as expected. We find that the test passed. Conclusion: After working on software development for several years, it has become evident that Test-Driven Development (TDD) has become essential for building high-quality software and reducing errors in code. TDD helps increase the effectiveness of the development process and improve the quality of the final product. Therefore, using TDD is considered a good investment in enhancing the quality and productivity of the development process. References
TDD and TDD in Flutter Read More »